
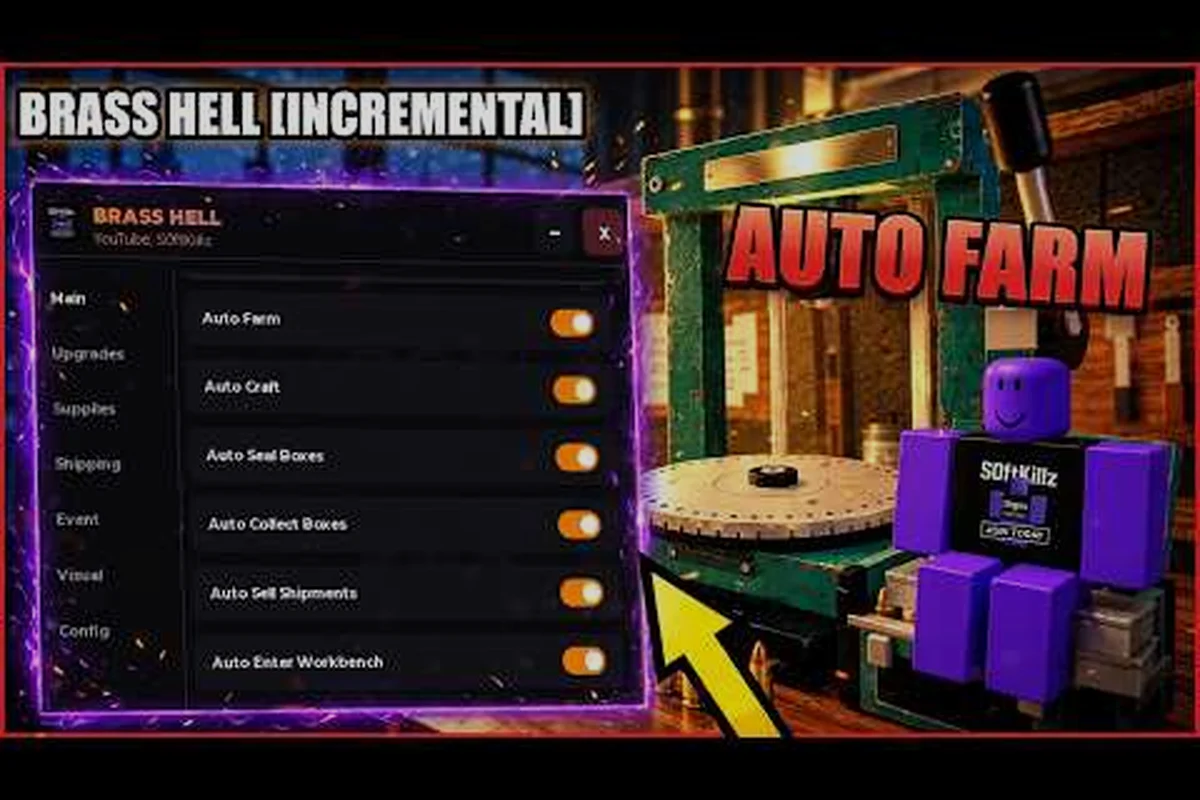
Automation matters in BRASS HELL because every production chain turns repeated actions into ammunition, income, and faster contracts. This BRASS HELL automation guide explains how stations, presses, crates, and shipments can work together so you spend less time moving materials and more time improving your production chain.
Design a Simple One-Way Material Flow
A reliable BRASS HELL automation setup is not about placing every machine you can afford. It is about creating a simple flow where materials enter once, move through productive stations, and reach the next sales or fulfillment point with minimal handling. The best results usually come from testing one small chain until it becomes dependable.
The core production loop begins with raw materials, continues through brass processing and ammunition assembly, and ends with packed crates that can be sold or shipped. Each stage adds value, so the priority is keeping that chain active rather than maximizing every individual station at the same time.
Production Chain Priorities
Before expanding a factory, identify the slowest part of the chain. Common pressure points include feeding the press, waiting for brass rounds to cool, loading crates, or finding storage space for completed products. Addressing the actual bottleneck produces a more efficient result than adding decorative machinery.
| Priority | Production need | Practical result |
|---|---|---|
| First | Continuous material supply | Fewer stalls between crafting cycles |
| Second | Reliable brass processing | Better output from existing resources |
| Third | Organized ammunition assembly | Less time sorting and loading |
| Fourth | Streamlined crate handling | Faster sales and shipment turnover |
| Fifth | Wider station network | Higher capacity once the core flow works |
Material continuity is the first scaling test. If a station stops because the next supply bin is empty, another press will not fix the problem. Watch the sequence of deliveries, crafting time, storage limits, and finished-goods pickup before deciding where to invest.
A Simple Early Factory
A manageable early factory should contain only the stations needed for one dependable product line. For ammunition production, that means a source of brass material, a crafting bench for assembly, and a crate for completed rounds. Expand the sequence only after each part can run repeatedly without manual intervention.
The BRASS HELL crafting guide provides a useful foundation for understanding the individual actions that your automated layout must still support. Automation saves time, but it cannot compensate for an inefficient recipe sequence or a shortage of basic inputs.
BRASS HELL Crafting Stations and Production Flow
BRASS HELL crafting stations become more valuable when each one has a clear input, output, and destination. A bench that transforms brass, a press that shapes components, and a crate that stores finished ammunition should function as one chain rather than three unrelated machines.
Building a Linear Workflow
Start at the point where materials are easiest to obtain. Move them to the first processing station, then arrange the next station close enough that finished components do not remain scattered across the floor. The final station should receive only completed ammunition, making it simple to determine when a crate is ready for sale or shipment.
| Chain stage | Function | Player action to optimize |
|---|---|---|
| Raw brass | Supplies the production line | Maintain a visible reserve for continued crafting |
| Brass processing | Prepares usable components | Keep the required material feeding the station |
| Crafting bench | Assembles bullet components | Standardize the recipe and output destination |
| Round assembly | Produces finished ammunition | Route every completed round into storage |
| Shipping crate | Holds sellable goods | Pack and dispatch on a consistent schedule |
Station adjacency reduces wasted trips, although placement alone cannot overcome limited inventory. Leave enough room to retrieve finished goods and move raw materials. A compact factory that constantly blocks access will be less productive than a slightly wider arrangement with clear walking routes.
Managing Brass Rounds
The BRASS HELL brass rounds guide should begin with material planning because brass is the foundation of several production recipes. Keep enough unprocessed material for the next cycle while directing only what the active recipe needs into the crafting station. This avoids tying up scarce resources in products that are not yet needed.
Community experience generally supports a simple rule: improve throughput before adding variety. That means maintaining the bench, confirming that components continue moving, and checking the crate before expanding the factory. Reported player setups can vary by progression and available stations, so treat community observations as practical evidence rather than fixed specifications.
BRASS HELL Crafting Bench Guide for Efficient Output
A BRASS HELL crafting bench guide must account for both production speed and material flow. The fastest bench is not useful if it consumes every component immediately and leaves you waiting for inputs. Bench efficiency comes from a predictable recipe, uninterrupted inputs, and an immediate route for completed ammunition.
Assigning Bench Jobs
Divide your available materials into three practical groups: active production, near-term production, and reserve stock. The active group should feed the bench now. The near-term group should cover a small interruption, while the reserve remains available for contracts, emergencies, or another station that has not yet reached full production.
| Inventory layer | Purpose | Recommended behavior |
|---|---|---|
| Active materials | Current crafting cycle | Keep next to the required bench |
| Near-term stock | Covers brief delays | Store in an easy-to-reach location |
| Reserve materials | Protects future production | Keep separate from routine crafting |
| Finished goods | Sale or shipment stock | Store in crates by product type |
Recipe standardization reduces mistakes when several ammunition types are active. At first, craft one type repeatedly until the station cycle and material ratio are familiar. Once that line is stable, add a second recipe in small batches instead of doubling every recipe at once.
Selecting Bullet Types
Bullet selection affects the materials, demand, and output of your automated network. Use the BRASS HELL bullet tier list as a starting point for comparing available ammunition, but production value depends on more than raw performance. Consider what the factory can manufacture consistently and which goods have a practical sale or shipment path.
| Production choice | Advantage | Automation consideration |
|---|---|---|
| Single bullet type | Simple inputs and predictable output | Easiest line to stabilize |
| Two related types | Better material flexibility | Requires separate material tracking |
| High-tier bullet type | Greater potential value | May need more inputs or later stations |
| Mixed ammunition range | Broad market coverage | Creates a more complicated storage system |
| Low-demand type | Useful for early contracts | Can occupy capacity without strong returns |
Demand alignment prevents the factory from becoming an expensive storage room. Match production to orders, regional requirements, and items you can reasonably sell. A lower-value round that leaves spare capacity for another line may produce a better overall return than a valuable item that constantly waits for rare materials.
BRASS HELL Bullet Types Crafting and Material Routing
Bullet types crafting is easiest to automate when each recipe has its own input path. Mixing components or reusing the same bins without labels can make a working production line appear irregular. A clear routing system prevents mistakes and helps you identify which product is consuming resources fastest.
Creating Separate Production Lanes
Divide the factory into lanes based on recipes or material families. One lane can handle ordinary brass rounds, while another handles a more demanding ammunition type. If space is limited, use time separation: finish one recipe completely, move the output, and then begin the next batch.
| Lane design | Best use | Primary advantage |
|---|---|---|
| Material-based lanes | Factories using several brass inputs | Prevents accidental recipe mixing |
| Product-based lanes | Repeated ammunition production | Makes output easy to count |
| Tier-based lanes | High-value production separated from basics | Protects valuable material from mistakes |
| Alternating batches | Small workspace with several recipes | Avoids permanent space requirements |
| Single dedicated lane | Early production before expansion | Reduces setup complexity and labor |
Separate output crates make each lane easier to audit. When a crate fills at a predictable rate, you can estimate turnover without checking every finished round. If one crate grows much faster than expected, you have an immediate clue that a recipe is consuming more material than planned.
Diagnosing Production Problems
Stalls usually begin as small interruptions that become larger when ignored. Watch for a bench that completes but does not receive a new order, a crate that fills before new material arrives, and a shipping schedule that leaves finished products waiting. Address the first break in the sequence instead of repeatedly checking the last station.
| Symptom | Likely cause | Corrective action |
|---|---|---|
| Bench frequently idle | Input supply stopped | Reserve more material or improve delivery timing |
| Crate fills too quickly | Output exceeds shipping pace | Dispatch more often or reduce production |
| Output pile remains full | Collection route blocked | Clear access and assign a regular pickup |
| Materials remain unused | Wrong lane or recipe selected | Confirm routing before starting production |
| Production stops at one station | Missing component or input | Inspect the upstream station first |
Upstream diagnosis prevents wasted time. When finished ammunition stops appearing, the problem may actually be at the press or material source. Work backward through the chain, checking each output and input in sequence. This method is faster than repeatedly restarting the final station.
BRASS HELL Round Crafting Guide for Scaling Production
Scaling a BRASS HELL round crafting guide from a small operation means measuring actual output before making major changes. Expansion should follow evidence: a full crate, a recurring shortage, or a long waiting period. Building because another station is available can leave a factory spread too thin to run efficiently.
Track Three Production Numbers
Track materials consumed, finished rounds produced, and shipments completed during the same period. These figures reveal conversion efficiency and whether production capacity is being converted into useful output. A ratio is not necessary; simple observations can show whether the system is becoming more balanced.
| Measurement | What it reveals | Action supported by the result |
|---|---|---|
| Brass consumed per batch | Recipe or routing consistency | Compare expected and actual use |
| Rounds completed per cycle | Bench and station throughput | Check for idle or blocked stages |
| Crates completed per period | Packaging efficiency | Adjust shipping frequency |
| Shipments completed per period | Actual output conversion | Expand only if demand keeps up |
| Idle station time | Remaining capacity | Use it for a second recipe only if inputs exist |
Throughput before capacity is the key scaling principle. If a line consistently completes full crates, add output or shipping capacity. If it produces slowly and often stops, improve supply and routing first. This sequence keeps capital tied to problems that measurements can confirm.
A Practical Expansion Order
Use a staged expansion order to reduce risk. Finish one production cycle, observe the result, and make one major change. This makes it easier to identify whether the change improved the chain or merely moved the bottleneck.
| Expansion stage | Action | Reason |
|---|---|---|
| One | Confirm supply reserves | Prevents short-term stalls |
| Two | Improve output collection | Clears the end of the chain |
| Three | Add or upgrade a press | Raises component production |
| Four | Expand crate capacity | Supports a larger output rate |
| Five | Introduce another bullet recipe | Uses spare capacity without disrupting the core |
| Six | Increase shipping frequency | Converts larger output into revenue |
Incremental testing keeps the production chain understandable. Save one route for the proven product line while testing the new one in a limited lane. If the experiment fails, you still retain a functional factory instead of rebuilding everything around an unproven design.
Shipping Crates and Long-Term Automation
Crates are the final stage before automation produces real value. Without a consistent shipping routine, your factory can be efficient on the bench yet inefficient as a business. The BRASS HELL crate guide expands on packing and crate management, while this section focuses on connecting crates to a dependable production schedule.
Building a Shipping Routine
Choose a fixed trigger for shipment rather than relying on an arbitrary crate fill. Some factories perform best when a crate reaches a certain level, while others succeed with regular timed pickups. The useful choice is the one that keeps finished goods moving without creating constant interruptions.
| Shipping trigger | Strength | Possible drawback |
|---|---|---|
| Full crate | Easy to understand | Capacity may sit idle before dispatch |
| Fixed time interval | Predictable schedule | May send partly filled crates |
| Order-based dispatch | Matches immediate demand | Requires active contract monitoring |
| Minimum stock threshold | Balances both approaches | Needs occasional adjustment |
| Manual priority system | Useful for valuable goods | Relies on active attention |
Dispatch readiness should be checked before beginning a new production cycle. Confirm that the relevant crate contains finished goods, the destination is available, and any required shipment condition has been met. This prevents a full factory from turning into a queue of finished but unshipped products.
Storage Without Sprawling
Separate in-process materials from finished inventory. Raw materials can occupy shared storage because they eventually enter the same chain, while ammunition should be divided by type and shipment status. Limited space makes every stored product more important, so avoid keeping low-value output that blocks high-value production.
Capacity planning begins with the crate. Measure how many shipments complete during a normal production period, then compare that rate with your output. If production consistently exceeds shipping, increase frequency, expand storage, or lower the priority of the least profitable recipe. No single machine compensates for every imbalance.
Why Isolated Station Upgrades Break the Chain
Most failed layouts share a simple cause: each station was optimized without considering the full chain. Adding capacity at the wrong point creates more inventory, more travel, and more idle machinery. A careful audit of materials, processing, assembly, and shipping prevents that outcome.
Mistakes That Restrict Throughput
Review the factory by following one finished round from raw material to shipment. Every interruption should be labeled and addressed. The priority order matters because fixing the first broken stage can release capacity that later stages were never able to use.
| Common mistake | Why it hurts | Correction |
|---|---|---|
| Building every station first | Inputs do not match output | Build one complete production lane |
| Mixing ammunition in one crate | Sorting increases shipping time | Use separate labeled crates |
| Using all brass immediately | Minor stalls stop production | Keep a near-term reserve |
| Expanding before measuring | New capacity may remain idle | Track output and idle time |
| Shipping only when overloaded | Finished goods accumulate | Set a regular dispatch trigger |
| Ignoring walking routes | Collection becomes frustrating | Keep stations and storage accessible |
One-lane testing is the safest correction for a crowded factory. Temporarily focus on one ammunition type and make its full route reliable. Once that lane works, add the next one; this isolates problems and prevents a broad redesign when only one connection is faulty.
A Final Production Audit
Complete the audit after every major addition. Confirm that raw materials are available, that every active station receives what it needs, that finished rounds reach the correct crate, and that shipments leave the factory. Check whether any station is consistently idle and whether a crate is always full.
A productive BRASS HELL automation guide ultimately favors predictable flow, measured expansion, and clean output routing over a large number of disconnected machines. Keep the proven line stable, use crates as a clear production boundary, and expand only when shipments show that demand can absorb the extra output.
Frequently Asked Questions
What is the best way to automate BRASS HELL production?
Build one complete ammunition line first, connecting material supply, brass processing, bench production, crate storage, and shipping. Stabilize that route before adding another bullet type or station. A simple automated flow that runs consistently usually produces more value than several isolated machines waiting for inputs.
Which BRASS HELL crafting stations should be built first?
Prioritize stations that fix the active bottleneck in your production chain. Begin with reliable material access and a functional processing bench, then improve collection and crate capacity. Only expand beyond that foundation when materials, completed rounds, or shipments consistently show that another station would remove a measurable delay.
Can multiple bullet types share one crafting bench?
They can share a bench if you manage inputs and output carefully, but separate recipes make mistakes easier to prevent. Use distinct material reserves and labeled crates, or alternate batches with a clear cleanup routine. During early scaling, concentrating on one type is usually easier to maintain than juggling several production lanes.
When should a BRASS HELL factory add another press?
Add another press when component supply consistently limits the next stage and your current material reserve can support the increased output. Avoid expanding because a press is affordable or visually completes the factory. Confirm that downstream stations and shipments can absorb the extra components before connecting the new capacity.